EWI Maintenance: How to Protect Your Investment Long-Term
A plain-English homeowner guide to caring for external wall insulation: annual checks, gentle cleaning, treating algae, repairing impact damage, and knowing when a render refresh makes sense.
External wall insulation is one of the longest-lasting upgrades you can make to a home, with a well-installed system expected to perform for 25 years or more. But that lifespan is not automatic — it depends on a small amount of routine care. The good news is that looking after an EWI system is genuinely easy, and this guide walks you through everything a homeowner needs to know.
Low-Maintenance Does Not Mean No-Maintenance
Modern silicone renders — the finish we install on most APEX projects using EWI Pro systems — are often described as self-cleaning, and there is truth in that. The silicone surface is water-repellent, so rain tends to bead up and carry loose dirt away rather than letting it soak in. Silicone finishes also actively resist algae growth and UV fading in a way that older cement or non-silicone finishes simply do not.
Even so, no facade looks after itself entirely. Sheltered elevations that rain never reaches, walls shaded by trees, and areas below leaking gutters will still gather grime over time. Think of a silicone-rendered wall like a well-built car: it rarely needs attention, but a periodic check and an occasional wash keep it performing and looking its best for decades.
A Simple Inspection Routine
The most valuable habit is a slow walk around your home once a year, ideally in spring after the worst of the winter weather. You are not looking for anything technical — just changes.
Give the system its first proper look about twelve months after installation, once it has been through a full cycle of seasons. After that, a detailed check roughly every five years is a sensible rhythm, with your quick annual walk-around in between.
Here is what to pay attention to:
- Hairline marks and cracks. Very fine surface crazing is usually cosmetic, but any crack you can see clearly from a metre away — roughly anything wider than 0.2mm — is worth repairing before water finds it.
- Sealant joints. Check the flexible seals around windows, doors, pipes and anywhere the render meets another material.
- Trims and beads. The verge trims, drip beads and other details that shed water off the wall should be secure and undamaged.
- Gutters and downpipes. A leaking joint that streams water down one patch of render is the single most common cause of localised staining and algae.
If you spot something you are unsure about, a photo sent to your installer is usually enough to get a quick answer.
Cleaning Your Render the Right Way
For most homes, a gentle clean once a year keeps the finish looking fresh. In many cases you will not even need that often — but where dirt does build up, the method matters far more than the frequency.
The safest approach is the simplest: warm water with a mild detergent, applied with a soft sponge or brush. This lifts general grime without disturbing the render surface. Work in manageable sections and rinse with clean water afterwards.
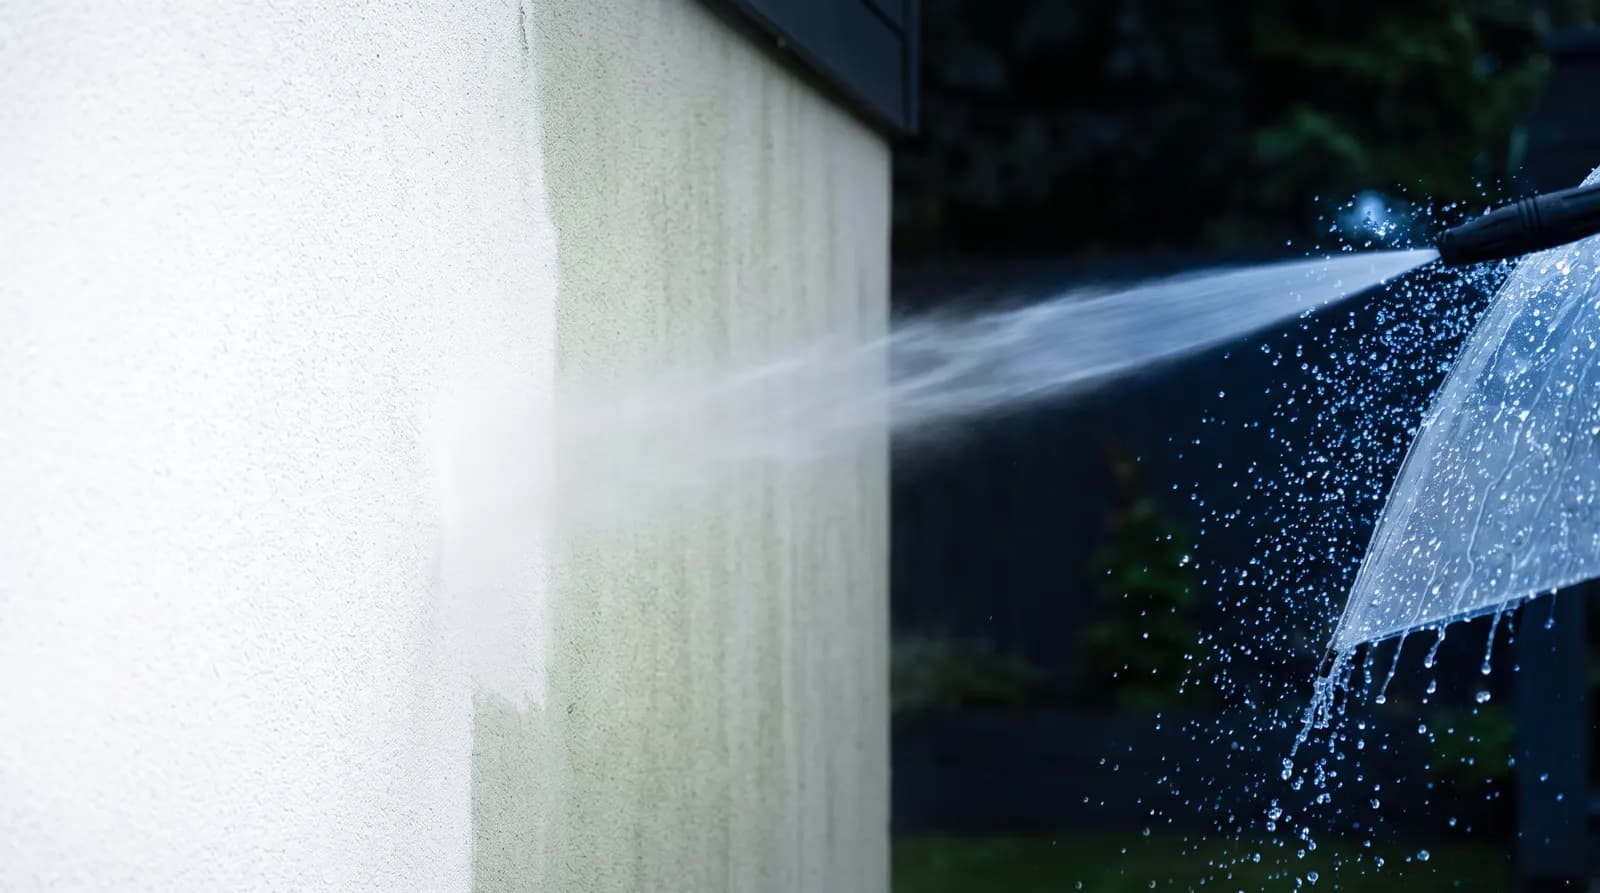
A pressure washer can be used, but with real care. Keep it on a low-pressure, wide fan setting, hold the lance well back from the wall, and work from the top of the wall downwards so dirty water runs over areas you have not yet cleaned. Never blast the render at close range or with a narrow jet — high pressure can drive water behind the system, erode the textured finish, and void warranties. If in doubt, stick to the sponge or ask a professional to do a soft wash.
Dealing With Algae and Green Growth
Green or black staining on render is biological growth — algae, and sometimes lichen or mould — and it thrives on walls that stay damp. North-facing elevations, walls under overhanging trees, and any patch fed by a dripping gutter are the usual suspects.
Silicone render's water-shedding surface makes it far harder for these organisms to get established, which is one of the reasons we recommend it. But if growth does appear, it is straightforward to treat. A dedicated fungicidal wash, applied to the affected area, typically breaks down the growth within about 24 hours and helps prevent it returning for up to six months. Rinse the residue away gently once it has done its work.
The longer-term fix is to remove whatever is keeping the wall wet — repair the leaking gutter, cut back the overhanging branch — because treating the symptom without the cause means the green will eventually return.
Keep Water Where It Belongs
Almost every render problem we are asked to look at traces back to water getting somewhere it should not. A few small habits protect you here:
- Clear your gutters at least once a year and fix leaking joints promptly.
- Check window sills and copings still throw water clear of the wall face rather than letting it dribble down the render.
- Renew sealant joints when they start to crack or pull away. Silicone sealants are consumable items — they deteriorate in sunlight and typically need replacing every few years, which is a quick and inexpensive job.
- Make sure soil, gravel or decking has not built up against the base of the system, bridging the damp-proof course.
None of this is unique to insulated walls — it is the same care any masonry home deserves — but on an EWI system it directly protects the insulation beneath the render.
Repairing Knocks and Impact Damage
Render over insulation is tougher than many people expect, but a hard knock — a ladder, a wheelie bin, a stray football — can compress the insulation behind the finish and leave a dent or crack. This kind of damage should not be ignored, because a breached surface lets moisture reach the insulation layer.
The correct repair is to cut out the damaged section cleanly and rebuild it with matching insulation, basecoat, mesh and finish, blending the new render into the old. Done properly, a repair is barely visible. For areas that take regular knocks, such as around bin stores or driveways, higher-strength boards with better compressive resistance can be specified from the outset.
One related point: never screw a satellite dish, light fitting or hanging basket straight through the render. Purpose-made fixings for insulated walls spread the load and seal the penetration, so anything you attach stays secure without creating a cold spot or a water entry point. Ask your installer before mounting anything.
When Your Render Needs a Refresh
Even a well-kept render finish will eventually look tired, and a colour change or full refresh is sometimes simply a matter of taste. The encouraging news is that re-rendering over an existing finish is often possible, provided the surface underneath is sound.
Before any refresh, the wall needs an honest assessment: the existing render must be stable and well bonded, free of unresolved damp problems, and the details around windows, doors and the base of the wall must be checked. Where the substrate is failing or moisture issues remain, over-coating would just lock the problem in, and stripping back is the right call. It is also worth knowing that where a quarter or more of an external wall is being re-rendered, Building Regulations may apply, so the work should be specified properly rather than improvised.
If your rendered walls are due an inspection, a clean, a repair or a full refresh — or you are still weighing up external wall insulation in the first place — APEX offers a free, no-obligation survey and quote to help you plan the right next step.
// EXPERT GUIDANCE
Need Professional Advice?
Our technical team is here to help with your EWI or rendering project. Get professional guidance tailored to your specific requirements.