Mechanical Fixing vs Adhesive-Only: EWI Installation Methods Compared
Adhesive or mechanical fixings for external wall insulation? Almost every real project needs both — here's how substrate, board type and wind exposure decide the right mix.
Ask two installers how insulation boards should be attached to a wall and you may get two different answers: one swears by adhesive, the other reaches straight for the drill. In reality, the question is rarely either/or. Almost every well-specified external wall insulation project uses both adhesive and mechanical fixings, and the sensible debate is about the balance between them — which is decided by your walls, your insulation material and how exposed your home is to wind.
Why the fixing method matters more than it looks
An EWI system is only as good as its grip on the wall. The insulation boards carry the full weight of the basecoat, reinforcing mesh and silicone render on top of them, and the whole assembly then has to resist decades of wind suction, thermal movement and moisture cycling. If the boards are poorly bonded, the failure is rarely dramatic on day one — it shows up later as cracked render, drummy hollow patches, or boards that have crept out of line. Getting the attachment method right at the start is far cheaper than repairing a failed facade, which is why reputable system designers such as EWI Pro publish clear rules about adhesive coverage and fixing densities rather than leaving it to guesswork.
Adhesive-only: how bonding works
Adhesive is the primary means of holding insulation boards to a masonry wall. Applied correctly, a cementitious adhesive creates a continuous structural bond between board and substrate, spreads loads evenly and avoids puncturing the insulation at all.
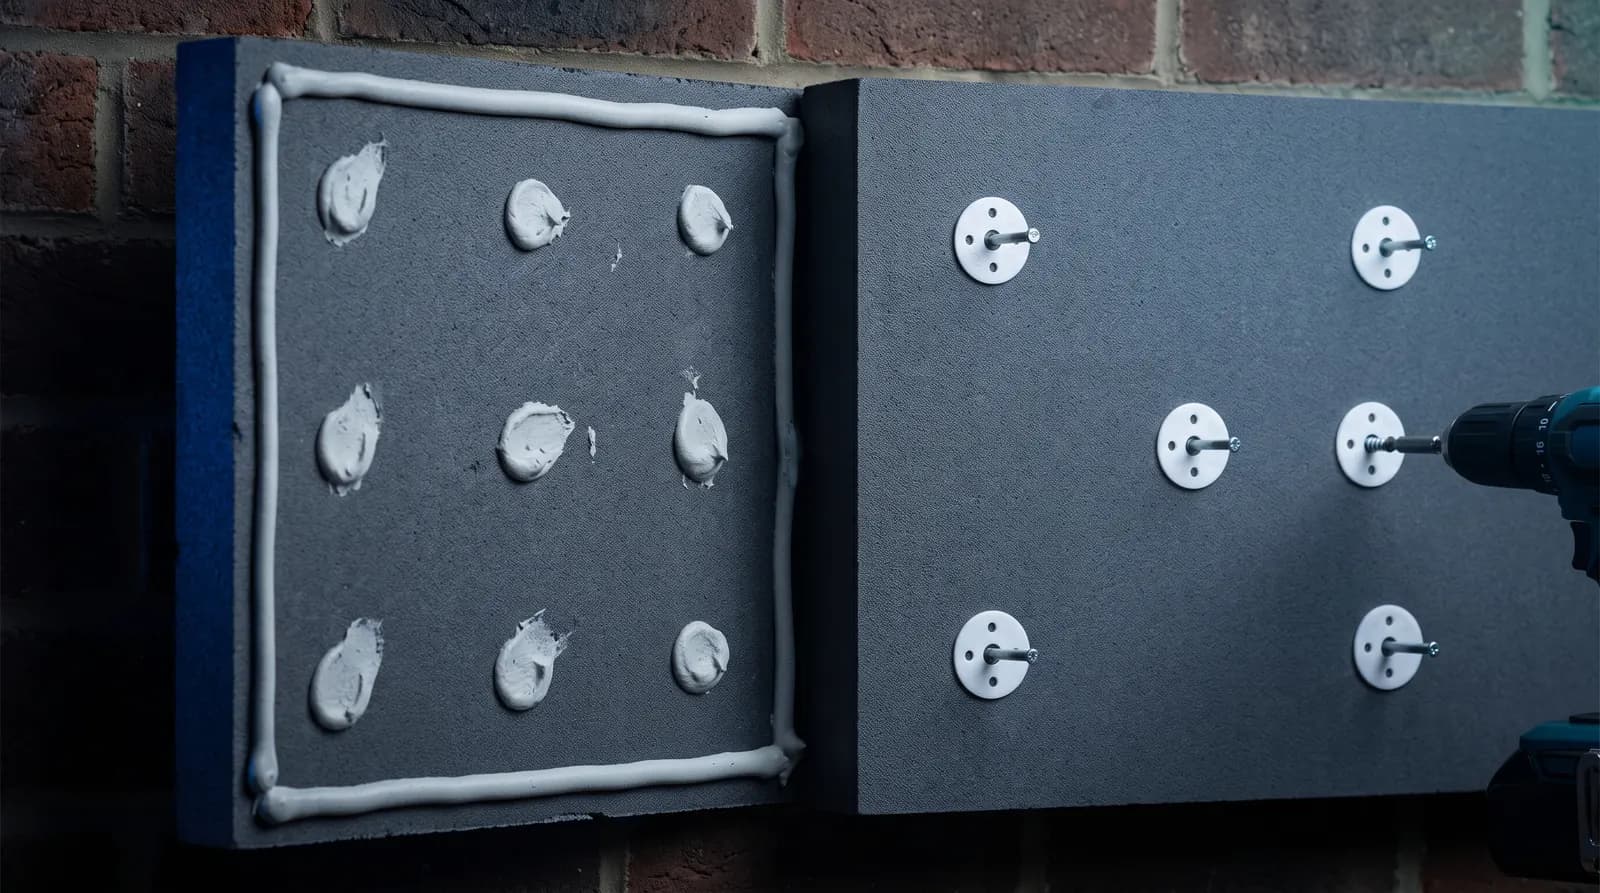
There are two recognised ways to apply it. The first is the perimeter-and-dabs method, often called dot and dab: a continuous bead of adhesive is run around the edges of the board, roughly 3–4 cm wide, with around three dabs placed across the middle. The continuous perimeter matters — it stops air circulating behind the boards, which would otherwise undermine the insulation's performance. The second is full-bed application, where the entire back of the board is combed with a notched trowel so the whole surface is bonded.
Whichever method is used, the accepted rule of thumb is that adhesive should cover at least 40% of the back of each board. Perimeter-and-dabs achieves this comfortably on rigid boards such as EPS, XPS and PIR when done properly. Full-bed coverage is the norm for mineral wool and other flexible boards, which sag and deform more easily, and it is also the better choice on walls that are slightly uneven, because the adhesive bed can take up small variations.
For budgeting purposes, a 25 kg bag of adhesive covers roughly 5 m² of board, though rough or absorbent substrates will push consumption up.
Mechanical fixings: what they are and how they're set out
Mechanical fixings are anchor pins driven through the insulation board into the wall behind. Each one has a wide plastic head — a disc that spreads clamping force over the board face — and either a hammer-in pin or a screw-driven shaft. Hammer fixings are quick on solid brick and block; screw fixings give more controlled clamping and suit trickier or softer substrates.
The pin itself may be plastic or metal. Plastic-pinned fixings are lighter and inherently avoid thermal bridging, which makes them a natural partner for lightweight EPS. Metal-pinned fixings carry higher loads and are the standard choice for heavier mineral wool boards — but because metal conducts heat, they should be recessed into the board and capped with an insulating dowel cap so each fixing doesn't become a tiny cold spot telegraphing through the render.
The typical density in an EWI Pro specification is five fixings per board, or around seven per square metre, set out in an approved pattern — commonly one fixing near each corner region and one in the middle, or a pattern that places fixings through board joints so one anchor clamps two boards at once. Crucially, fixings go in after the adhesive has cured, usually 24–48 hours later, so that hammering and drilling don't break the fresh bond.
What your walls decide
The substrate is the single biggest factor in choosing the mix of adhesive and fixings.
Sound, bare masonry — brick, block or concrete that is clean, dry and free of dust and loose material — gives adhesive its best chance, and preparation is not optional: flaking paint, crumbling plaster and old coatings must come off, and porous surfaces should be stabilised or primed so the wall doesn't suck the moisture out of the adhesive before it cures.
Painted or previously rendered walls are where adhesive-only thinking falls down. The adhesive can only ever bond as well as the layer it touches; if the old paint or render lets go of the wall, the insulation goes with it. On these substrates, mechanical fixings do the heavy lifting because they anchor through the suspect layer into sound material behind, with the adhesive providing initial grab and evenness.
The insulation material matters too. EPS is light, so a well-bonded adhesive layer carries it easily and fixings act as a safety net. Mineral wool is markedly heavier and more flexible, so it demands both a stronger adhesive — EWI Pro specifies its premium fibre-reinforced basecoat adhesive for mineral wool rather than the standard EPS grades — and metal fixings as standard. Timber-frame and steel-frame constructions are different again: there is no masonry to bond to, so the specification shifts towards fixings driven into the structural frame, following the system designer's details.
Wind, height and edge zones
Wind doesn't push insulation onto a wall — it sucks it off. Negative pressure is strongest at the corners and edges of a building and increases with height and exposure, which is why fixing requirements are not uniform across a facade. Standard practice is to increase fixing density in the perimeter edge zones of each elevation and on taller or more exposed buildings; the exact uplift depends on the wind load calculation for the site [VERIFY: edge-zone fixing densities and wind-zone thresholds should be confirmed against the system certificate or a project-specific wind load calculation]. A coastal cottage, an exposed hillside property and a sheltered suburban semi should not all receive the same fixing schedule, even with identical boards and adhesive.
The honest answer: adhesive plus fixings
So which is better? On paper, adhesive-only avoids thermal bridging and keeps the board face perfectly smooth, while fixings-only suits substrates that can't be trusted to bond. In practice, nearly every real-world domestic EWI project in the UK uses a hybrid: a properly applied adhesive bed as the primary bond, plus a calculated pattern of mechanical fixings as the mechanical guarantee.
The two methods cover each other's weaknesses. Adhesive resists the constant shear load of the system's weight and seals the boards to the wall; fixings resist wind suction, hold the system if a hidden layer of paint or render ever delaminates, and clamp boards flat while everything cures. Winter-grade adhesives even extend the season — EWI Pro's winter formulation works down to around freezing — but the fixings are what let an installer sleep at night regardless of what the substrate turns out to hide.
The variables, then, are not whether to use both but how: which adhesive grade, what percentage coverage, plastic or metal pins, and how many fixings per square metre in the field and at the edges. Those answers come from the substrate survey and the exposure of the site, not from habit.
Getting the specification right for your home
Details like joint gaps over 2 mm being filled, boards laid in a staggered bond, and fixings only going in after the adhesive has cured are small individually, but together they are the difference between a render finish that stays crack-free for decades and one that doesn't. That is why a proper EWI quote starts with someone actually looking at your walls — checking what the substrate is, what is on it, and how exposed the property is — before any numbers are written down. If you are weighing up external wall insulation and want the fixing method specified for your actual house rather than a generic one, APEX EWI offers a free survey and quote to get you started.
// RELATED
More Articles
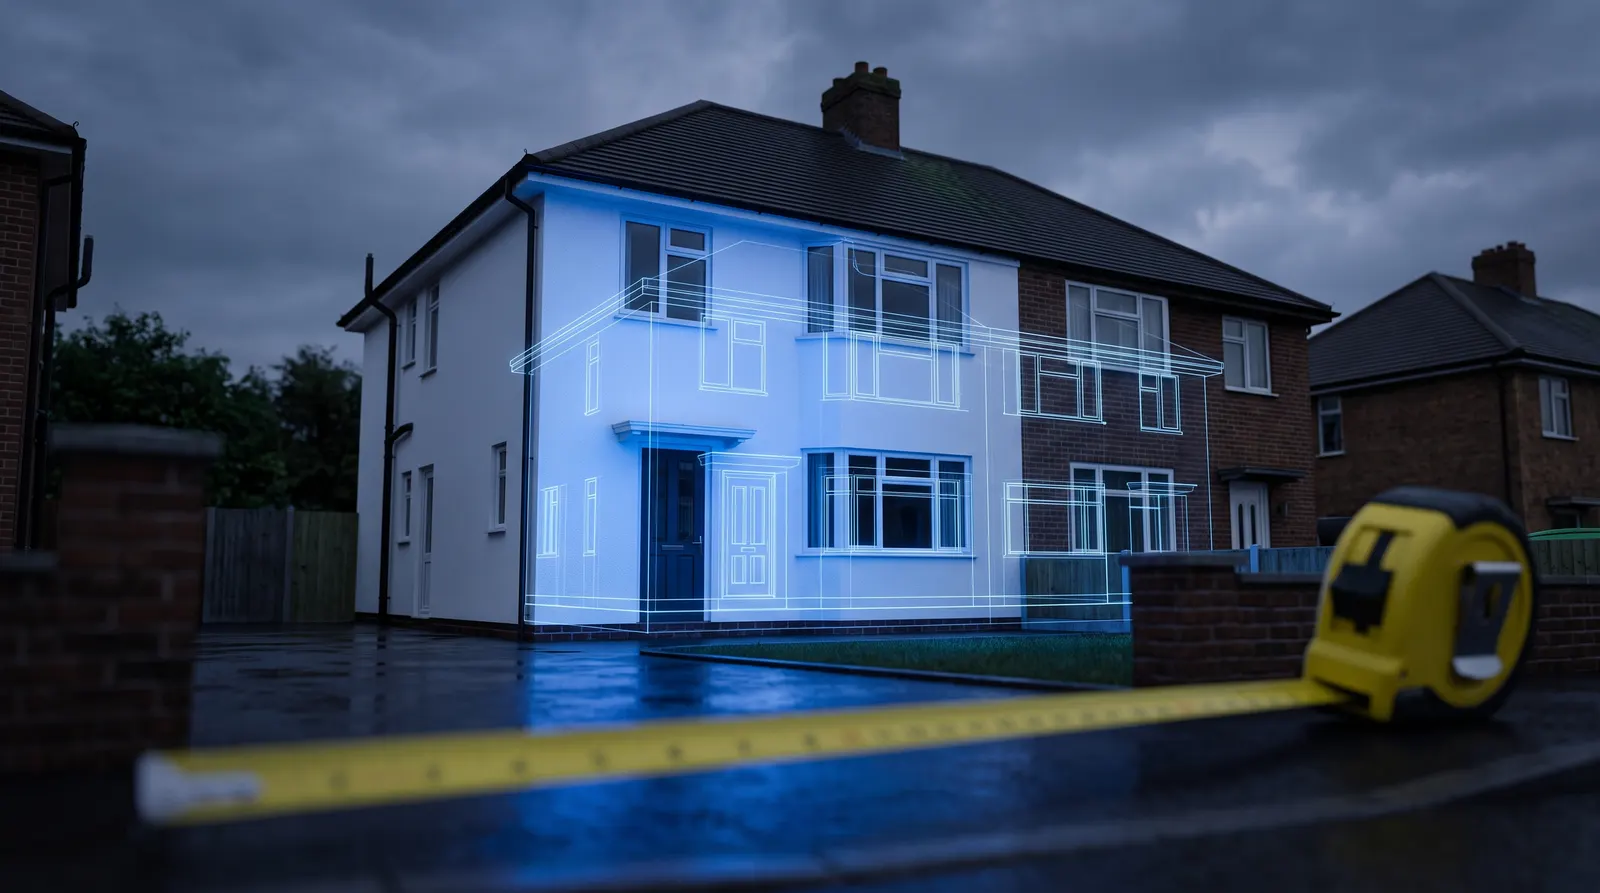
How Much Does External Wall Insulation Cost in 2026?
What EWI really costs in 2026: honest per-square-metre rates from our own calculator, worked whole-house examples, what moves the price, and how payback stacks up.
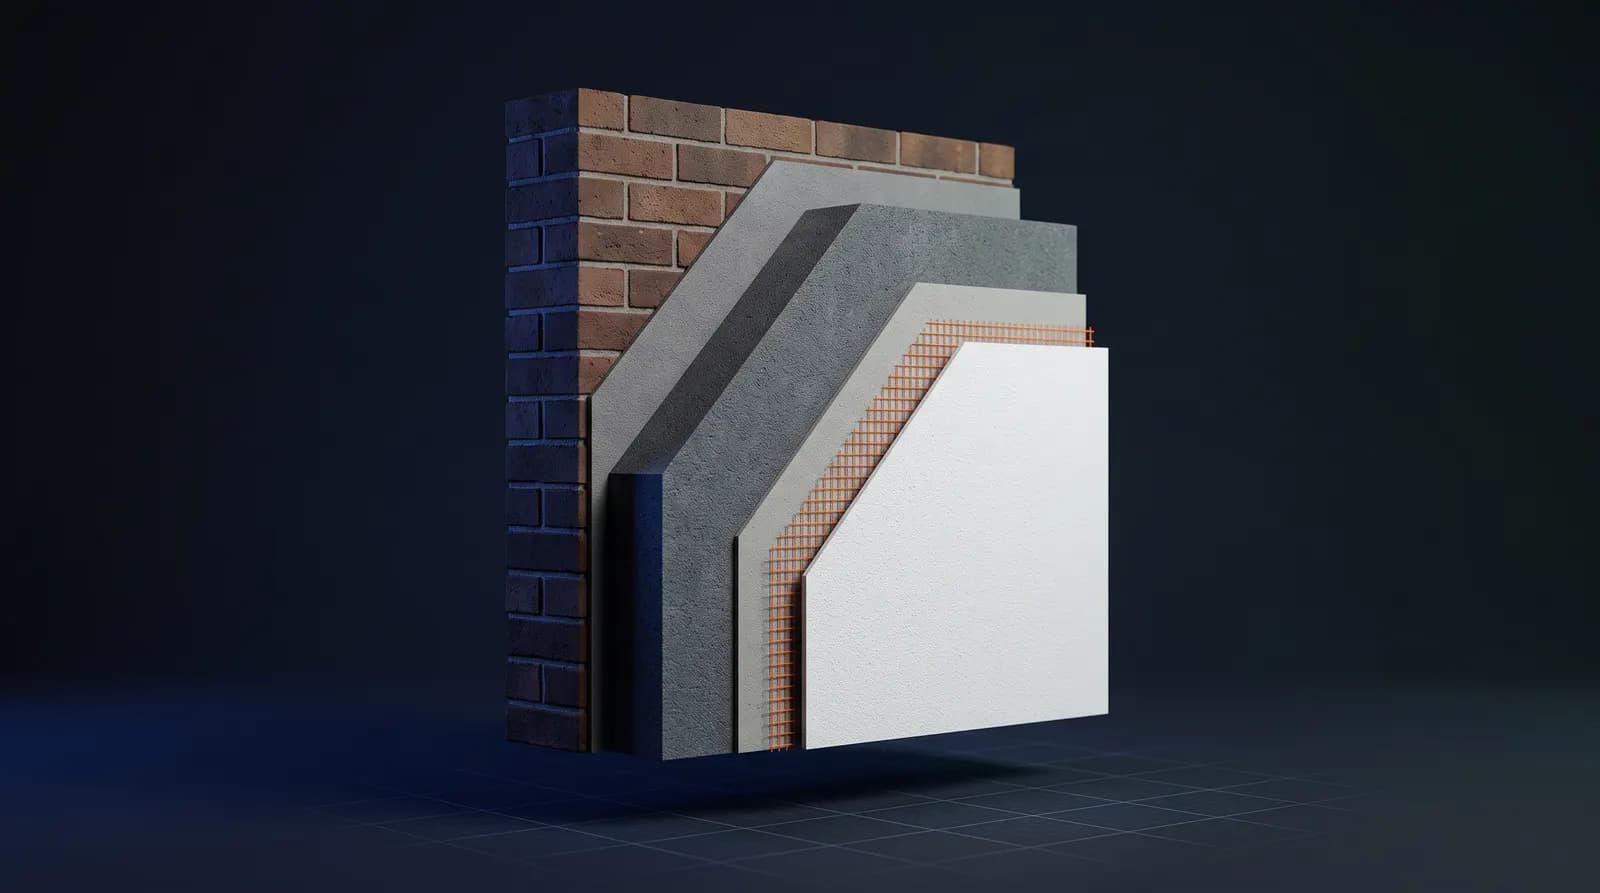
The Complete Guide to External Wall Insulation Systems
How external wall insulation systems work, layer by layer: EPS, mineral wool, wood fibre and phenolic boards compared, render finishes, and how to match the right build-up to your home.
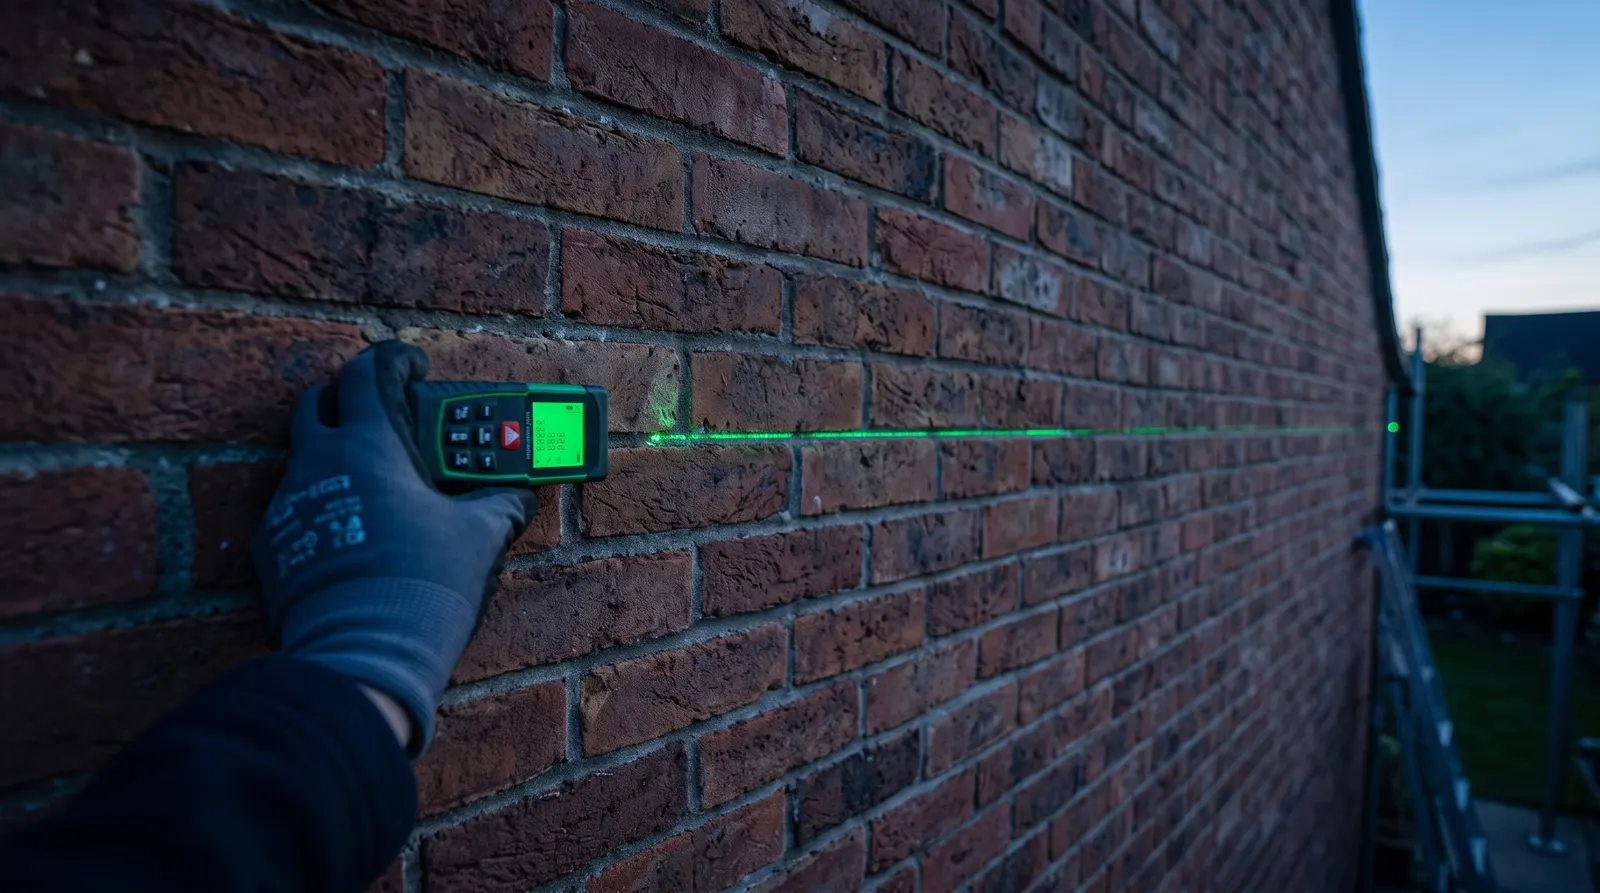
What Happens During an EWI Survey? A Homeowner's Step-by-Step Guide
A plain-English walkthrough of what a free EWI survey covers — wall construction, damp checks, measurements and access — and how the findings turn a budget estimate into a fixed quote.
// EXPERT GUIDANCE
Need Professional Advice?
Our technical team is here to help with your EWI or rendering project. Get professional guidance tailored to your specific requirements.