What's Actually Behind Your Render? Beads, Mesh and Fixings Explained
The beads, fibreglass mesh, starter tracks and fixings hidden behind a rendered wall decide how long it lasts — and they are what separates a cheap quote from a good one.
When you look at a freshly rendered house, all you see is the finish: a clean, even coat of silicone render in the colour you chose. What you cannot see is the network of beads, mesh, tracks and fixings buried underneath it — and those hidden parts, far more than the colour on top, decide whether the wall still looks sharp in fifteen years or starts cracking in three. This guide walks through what actually sits behind a rendered wall, so you can judge a quote on what is in the system rather than just the number at the bottom.
Why the Hidden Layers Decide How Long Render Lasts
Render itself is a relatively thin coating. On an external wall insulation system it sits over insulation boards; on a straight re-render it sits over masonry. Either way, it is constantly being worked on by the weather: heated and cooled, soaked and dried, knocked by ladders, bins and footballs. A thin coating cannot survive that on its own. It survives because of reinforcement embedded inside it, protective profiles at every edge, and secure anchorage back to the wall. Every one of those components costs money and takes time to fit — which is exactly why they are the first things to quietly disappear from a cheap quote. The finish looks identical on day one. The difference shows up in year two or three.
Render Beads: The Skeleton at Every Edge
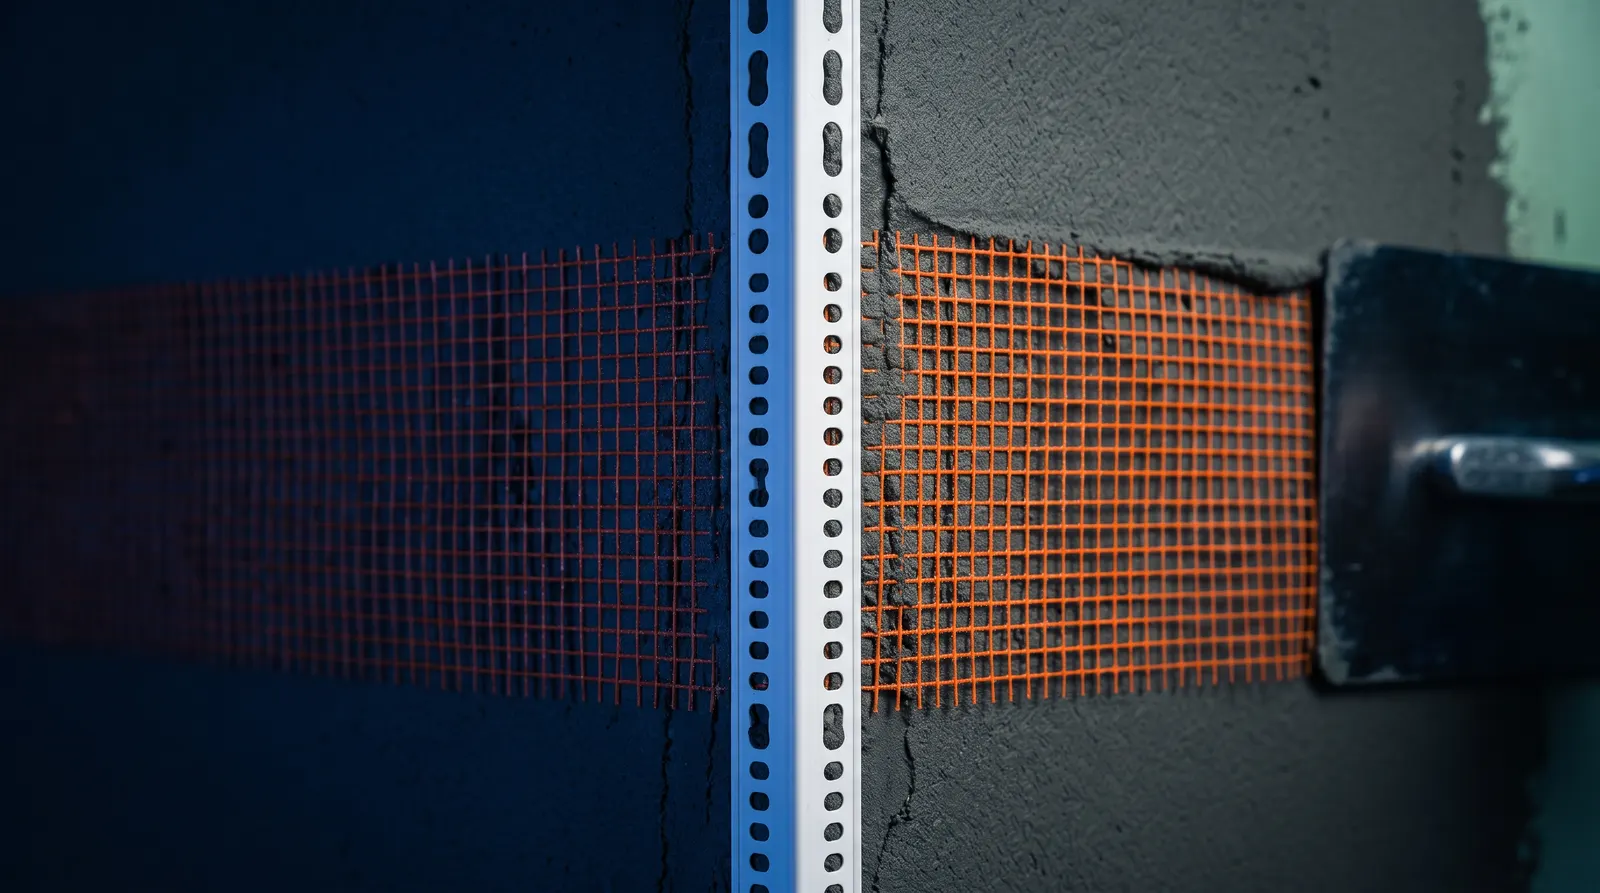
Beads are rigid profiles, usually PVC on modern silicone systems, fixed wherever the render starts, stops, turns a corner or meets something else. They do three jobs at once: they give the installer a straight, true line to work to, they armour the most vulnerable points of the wall, and they manage where water goes. Most beads come with mesh wings or perforated flanges that get pressed into a layer of basecoat, so the bead becomes part of the wall rather than something stuck on top of it. A wall rendered without beads can look acceptable at first, but its edges are just raw render — and raw edges are where chips, cracks and water ingress almost always begin.
A Quick Tour of the Bead Family
Each bead type has a specific job, and a well-specified wall uses several of them:
- Corner beads sit on every external corner, giving a crisp, defined edge and protecting the corner from knocks — corners take far more impact than flat wall.
- Stop beads form a neat, sealed finish wherever the render ends: against window frames, at boundaries with brickwork, or where two different materials meet.
- Bellcast beads go at the bottom of the rendered area and kick the render out slightly, throwing rainwater clear of the wall below instead of letting it run down and soak in.
- Movement beads (sometimes called expansion beads) are fitted on long, continuous elevations or where two structures join. They create a controlled flexible joint that absorbs thermal expansion and contraction, so the wall moves at the bead instead of cracking somewhere random.
- Reveal and window head beads frame the openings around windows and doors, protecting those tight edges from cracking and closing off one of the easiest routes for moisture to get behind the system.
- Drip beads are fitted over openings and at horizontal details so water falling down the face drips off cleanly rather than tracking back underneath to the window head.
None of these are decorative extras. Every one exists because, at some point, walls without them failed in a predictable way.
Fibreglass Mesh: The Crack Insurance You Never See
Between the insulation (or masonry) and the finish coat sits the basecoat, and embedded in that basecoat is a layer of alkali-resistant fibreglass mesh. This is the single most important crack-prevention measure in the whole system. Walls move constantly with temperature; the mesh takes those stresses and spreads them across the whole elevation instead of letting them concentrate into a visible crack. It also gives the basecoat real tensile strength, so the relatively soft insulation boards behind it are protected from everyday impacts.
Mesh comes in different weights. Standard EWI and render systems use a mesh of roughly 145 to 160 grams per square metre, which balances strength with flexibility. For areas that take more punishment — typically the lower portion of walls near pavements, driveways and bin stores — a heavy-duty mesh of around 300 to 350 grams per square metre (often called panzer mesh) can be added as an extra layer. Lightweight meshes around 100 grams per square metre exist but are not suitable where the wall will see real stress. Good practice is to overlap adjacent mesh sheets and to add extra diagonal patches at the corners of windows and doors, where cracking forces concentrate [VERIFY: overlap dimension per EWI Pro system specification, commonly around 100mm]. Skipped or badly embedded mesh is invisible on handover day and unmistakable a couple of winters later.
Starter Tracks and Fixings: What Holds It All Up
On an insulated system, the very first component fitted is the starter track: a horizontal rail fixed to the wall at the base of the system, usually just above damp-proof course level. It carries the bottom edge of the first row of insulation boards, keeps the whole system level from the start, and closes off the underside of the boards so weather and pests cannot get up behind them. Above it, the insulation boards are bonded with adhesive and then mechanically anchored with purpose-made fixings driven through the board into the structural wall. The number and pattern of fixings per board is set by the system designer and varies with the substrate and wind exposure [VERIFY: fixing pattern per EWI Pro specification for the specific substrate]. Cheap or too-few fixings are another invisible saving: the wall stays up either way, but a properly fixed system resists wind loading and stays flat for decades.
Closing the System at the Roofline
The top of the system matters as much as the bottom. Modern roofline closure components — upstand and downstand profiles, corner connectors and end caps — seal the junction where the insulation meets the roof, fascia or verge. Fitted correctly, they overlap the insulation by around 40mm (up to 50mm in severe weather zones) and create a waterproof detail that sheds water away from the system rather than letting it in at the most exposed edge of the house. These closure systems are designed to comply with PAS 2035, the standard governing domestic retrofit work in the UK. If a quote makes no mention of how the top of the system will be sealed, it is worth asking.
Judging a Quote Beyond the Price
Two quotes for the same house can differ by thousands of pounds, and the difference is rarely the render bucket — it is usually everything in this article. So ask the direct questions: which beads are included and where, what weight of mesh is being used and whether openings get extra reinforcement, how the boards are fixed, and how the base and roofline are being closed off. A good installer will answer happily, because specifying these components properly is exactly what they are charging for. At APEX we install EWI Pro systems and list beads, mesh, fixings and trims openly on the spec sheets of our project pages — and if you would like the same clarity for your own home, our free survey and quote will set out precisely what will sit behind your render before a single board goes on the wall.
// RELATED
More Articles

Condensation and Interstitial Moisture in EWI Systems
Condensation is the most misunderstood damp problem in UK homes. Learn how dew point physics, breathable EWI systems and proper ventilation keep insulated walls dry inside and out.
Understanding Thermal Bridging: The Hidden Enemy of EWI Performance
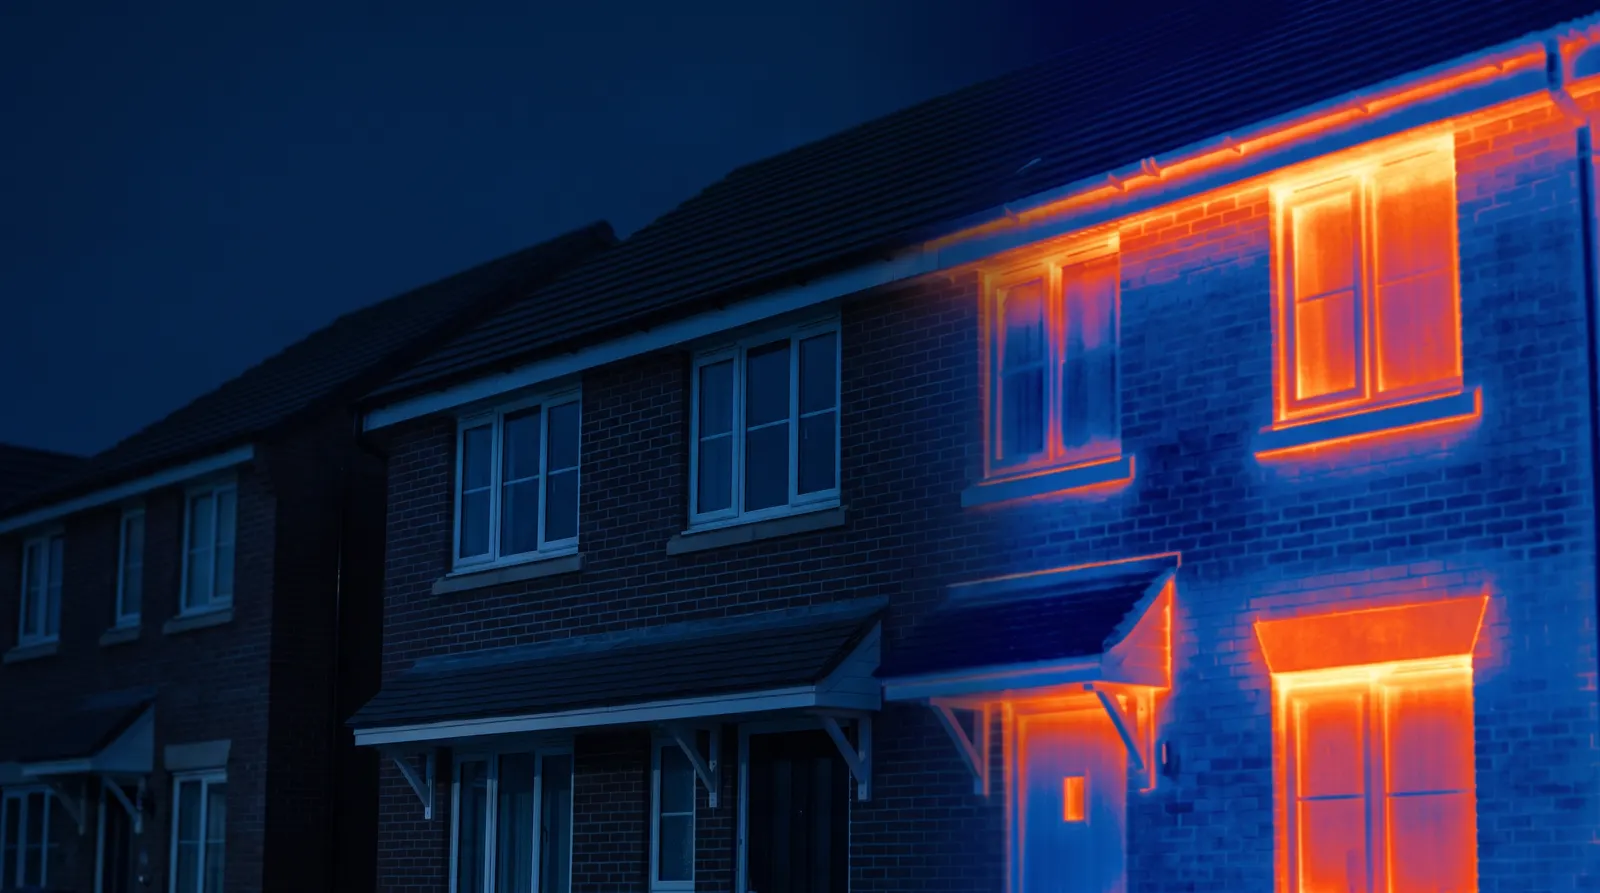
Thermal bridges let heat escape through gaps and junctions in an EWI system. Learn how they form, how psi values measure them, and how proper detailing designs them out.
Render Cracking: Common Causes and Professional Solutions
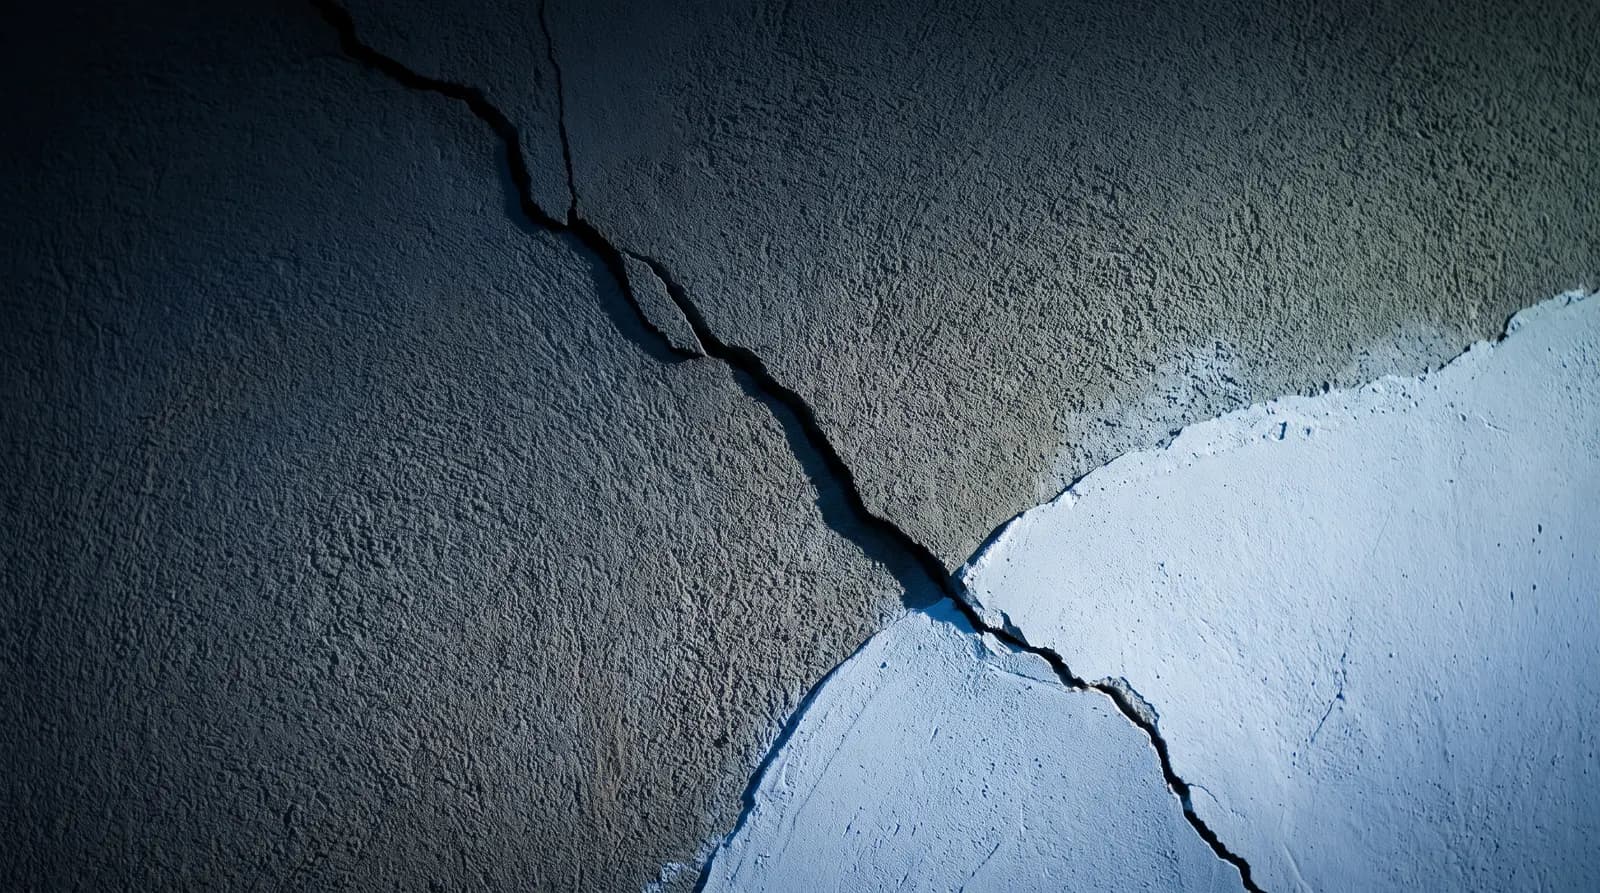
Why rendered walls crack — from mix errors and missing mesh to substrate movement — how to read the crack pattern, and how professionals repair and prevent it.
// EXPERT GUIDANCE
Need Professional Advice?
Our technical team is here to help with your EWI or rendering project. Get professional guidance tailored to your specific requirements.