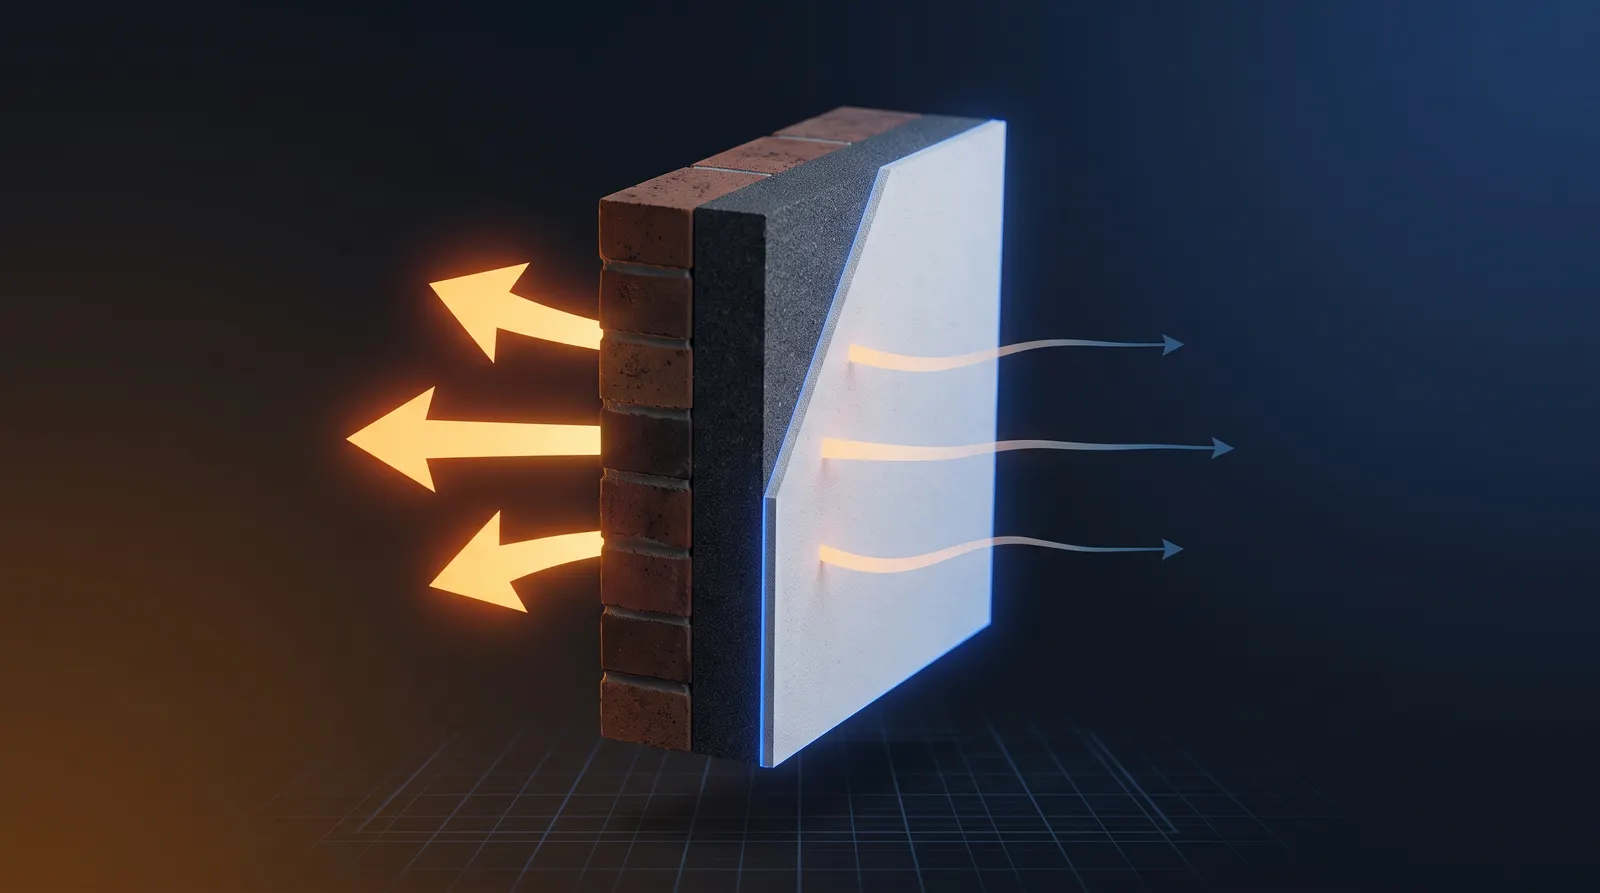
U-Value Calculations for EWI: A Practical Guide for Designers
How to calculate U-values for external wall insulation: lambda values, R-values, surface resistances and a full worked example sizing graphite EPS on a solid brick wall.
Every external wall insulation specification stands or falls on one number: the U-value. Get it right and the wall meets Building Regulations, the insulation thickness is no greater than it needs to be, and the client gets the comfort and running-cost savings they were promised. This guide walks through the physics, the standard resistance values, and a full worked example, so designers and specifiers can sense-check any EWI proposal that lands on their desk.
Why U-values drive every EWI specification
The U-value (thermal transmittance) describes how much heat passes through one square metre of a building element for every degree of temperature difference between inside and outside, expressed in W/m²K. Lower is better. An uninsulated solid brick wall typically sits around 2.0 to 2.1 W/m²K, which means it leaks heat roughly seven times faster than a wall built to current standards.
For retrofit work, the commonly applied target for upgraded external walls is 0.30 W/m²K [VERIFY: current Approved Document L limiting U-value for renovated thermal elements in England — confirm 0.30 W/m²K and any 0.55 W/m²K threshold applying to cavity wall upgrades before publication]. That single figure determines almost everything downstream: the insulant, its thickness, the fixing pattern, the sill extensions and the reveal details. Specifying insulation without calculating the U-value is guesswork; calculating it takes about five minutes once you know the method.
Lambda, R-value and U-value: the three numbers that matter
Three quantities do all the work in a basic U-value calculation.
Lambda (λ), the thermal conductivity, is a property of the material itself, independent of thickness. It measures how many watts flow through a metre of the material per degree of temperature difference, in W/mK. Metals have high lambda values; insulants such as expanded polystyrene and mineral wool have very low ones, which is precisely why they insulate.
The R-value, or thermal resistance, belongs to a specific layer of a specific thickness. It is calculated as:
R = thickness (in metres) ÷ lambda
so a thicker layer, or a lower lambda, gives a higher resistance. Units are m²K/W.
The U-value of the whole wall is the reciprocal of the sum of every resistance in the heat path:
U = 1 ÷ (Rsi + R1 + R2 + ... + Rse)
That sum must include the two air films either side of the construction. Standard surface resistances for walls are 0.13 m²K/W for the internal surface (Rsi) and 0.04 m²K/W for the external surface (Rse). They are small, but leaving them out is a common error and it makes every result look slightly worse than reality.
Typical lambda values for EWI insulants
The table below gives representative design lambda values for the insulants most commonly used in EWI systems. Always use the declared lambda from the manufacturer's datasheet for the actual product being installed, as values vary between grades.
| Material | Typical lambda (W/mK) | Notes | | --- | --- | --- | | Phenolic board | 0.021 | Thinnest solution; higher cost | | Graphite (grey) EPS | 0.031 | The EWI workhorse; excellent value | | White EPS | 0.038 | Cheaper, needs more thickness | | Mineral wool slab | 0.035 – 0.038 | Non-combustible, vapour-open | | Wood fibre board | 0.040 – 0.043 | Breathable, natural material |
The difference matters more than it looks. To achieve the same resistance, white EPS needs roughly 20 per cent more thickness than graphite EPS, and wood fibre needs around a third more. On a house with tight eaves overhangs or shallow window reveals, that extra depth can decide which system is buildable.
Where existing walls start from
Before you can size the insulation you need the thermal resistance of the wall you already have. Typical starting U-values for common UK substrates are:
| Substrate | Typical U-value (W/m²K) | | --- | --- | | Solid brick wall, uninsulated | approx. 2.0 – 2.1 | | Single-skin blockwork | approx. 2.1 | | Cavity wall with filled cavity | approx. 0.30 – 0.55 | | Solid stone wall | often 1.5 – 2.3 depending on thickness [VERIFY: stone varies widely — calculate per wall] | | Timber frame (modern) | 0.13 – 0.18 | | Structurally insulated panels | around 0.17 |
The worse the starting point, the more dramatic the improvement EWI delivers, which is why solid-walled pre-1930s housing is the classic candidate. A filled cavity wall already near 0.30 W/m²K gains far less, and the calculation will tell you so before anyone orders materials.
Worked example: 215mm solid brick wall with graphite EPS
Consider a typical Victorian terrace wall: 215mm of solid brickwork with 13mm of dense plaster internally, to be upgraded with a graphite EPS EWI system finished in thin-coat silicone render.
Step 1 — establish the existing resistances. Using a brick lambda of 0.77 W/mK and dense plaster at 0.57 W/mK:
- Internal surface resistance (Rsi): 0.13 m²K/W
- Plaster: 0.013 ÷ 0.57 = 0.02 m²K/W
- Brickwork: 0.215 ÷ 0.77 = 0.28 m²K/W
- External surface resistance (Rse): 0.04 m²K/W
Total existing resistance: 0.13 + 0.02 + 0.28 + 0.04 = 0.47 m²K/W.
Step 2 — check the existing U-value. U = 1 ÷ 0.47 = 2.13 W/m²K. That confirms the wall is performing about as poorly as expected for solid brick.
Step 3 — add the insulation layer. Specify 90mm graphite EPS with a declared lambda of 0.031 W/mK:
R (insulation) = 0.090 ÷ 0.031 = 2.90 m²K/W
The basecoat and silicone render add roughly 8mm at a lambda near 1.0 W/mK, contributing about 0.01 m²K/W — almost nothing, but include it for completeness.
Step 4 — sum and invert.
Total resistance = 0.47 + 2.90 + 0.01 = 3.38 m²K/W
U = 1 ÷ 3.38 = 0.30 W/m²K
The upgraded wall lands on the 0.30 W/m²K target, cutting heat loss through the wall by roughly 85 per cent.
Working backwards: deriving thickness from a target
In practice designers usually run the calculation in reverse. Starting from the target U-value:
- Required total resistance = 1 ÷ 0.30 = 3.33 m²K/W
- Subtract everything already there: 3.33 − 0.47 = 2.86 m²K/W still needed
- Multiply by the insulant's lambda: 2.86 × 0.031 = 0.089m, i.e. 89mm
Boards come in standard increments, so you round up to 90mm and re-run the forward calculation to confirm, exactly as in the worked example above. Run the same three lines with white EPS at 0.038 W/mK and you get 109mm — rounding to 110mm — which illustrates how directly lambda drives the depth of the finished system.
Beyond the simple method: corrections and competency
The layer-by-layer method above follows the simplified approach of BS EN ISO 6946 and is the right tool for early-stage design and sanity checks. A formal calculation for Building Control adds refinements the simple sum ignores: corrections for mechanical fixings that bridge the insulation, air gaps between boards, and repeating thermal bridges within the substrate. These corrections typically nudge the U-value upward slightly, which is one reason a marginal design should not be specified to the exact millimetre.
Solid-wall retrofit also demands a condensation risk check. Moving the insulation outside the masonry keeps the wall warm and generally reduces interstitial condensation risk compared with internal insulation, but junctions, reveals and vapour behaviour still need assessing on a per-property basis.
This is why recognised U-value competency training exists in the UK, and why system designers such as EWI Pro — whose systems APEX installs — maintain certified in-house calculation capability. An accurate calculation protects the client twice over: it guarantees compliance, and it prevents paying for more insulation than the wall actually needs.
Putting it into practice
For designers, the workflow is straightforward: establish the substrate resistance, fix the target U-value, derive the thickness from the insulant's declared lambda, round up to a standard board size, and confirm with a forward calculation before detailing reveals, sills and eaves around the final system depth. The arithmetic is simple; the judgement lies in choosing realistic substrate values and the right insulant for the building's constraints. If you are weighing up an EWI specification for a specific property, APEX offers a free survey and quotation, including U-value guidance for the exact wall build-up in front of you.
// RELATED
More Articles
Condensation and Interstitial Moisture in EWI Systems
Condensation is the most misunderstood damp problem in UK homes. Learn how dew point physics, breathable EWI systems and proper ventilation keep insulated walls dry inside and out.
Understanding Thermal Bridging: The Hidden Enemy of EWI Performance
Thermal bridges let heat escape through gaps and junctions in an EWI system. Learn how they form, how psi values measure them, and how proper detailing designs them out.
Render Cracking: Common Causes and Professional Solutions
Why rendered walls crack — from mix errors and missing mesh to substrate movement — how to read the crack pattern, and how professionals repair and prevent it.
// EXPERT GUIDANCE
Need Professional Advice?
Our technical team is here to help with your EWI or rendering project. Get professional guidance tailored to your specific requirements.